 RoomTour
Listing photos
Your listing photos come out of the same tour.
When you publish a tour, RoomTour cuts ordinary photos of every room from its 360° photos. The walls stay straight and you see more floor than ceiling, so they're ready for the portal.
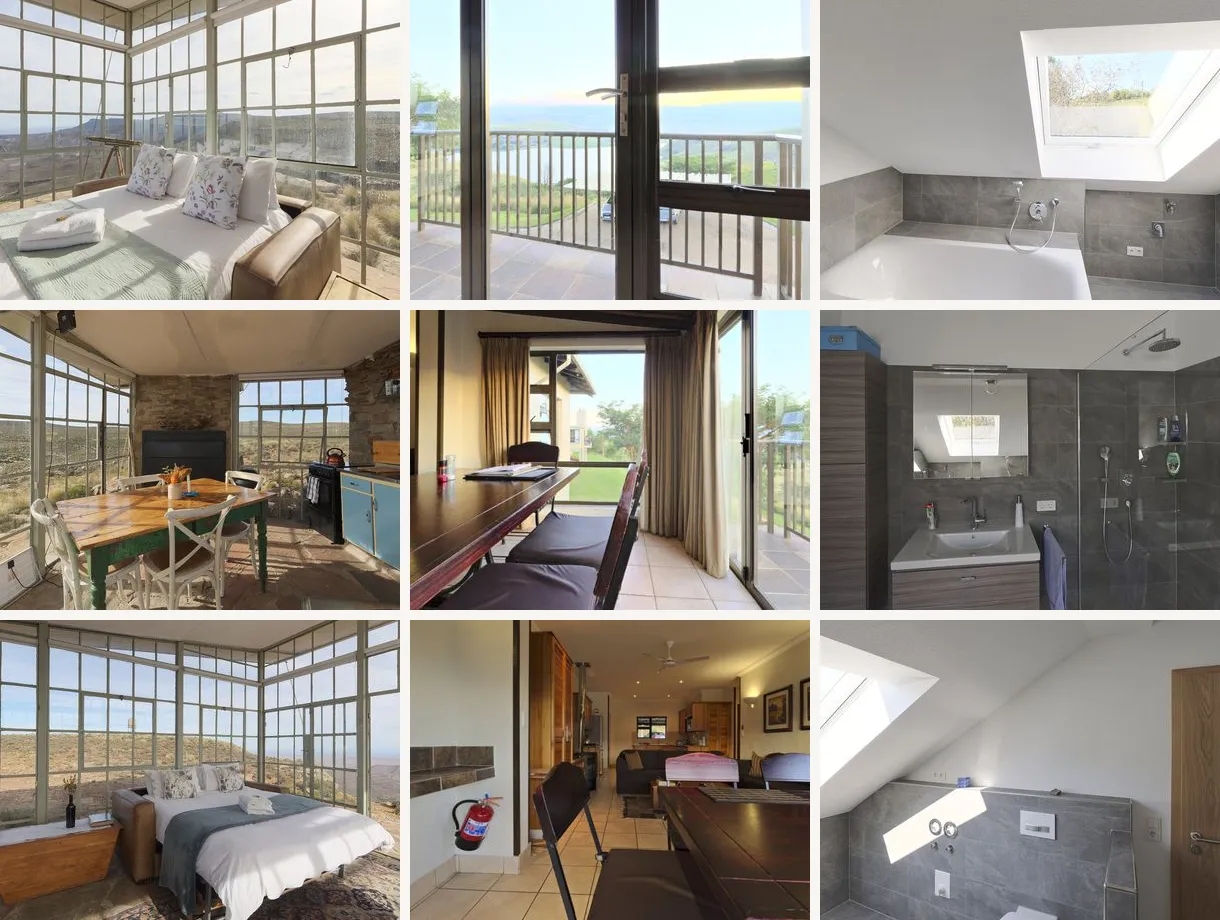
The problem
The 360° tour goes in as a link, but the listing gallery still wants ordinary photos.
The usual fix
Going back for another photo shoot, or cropping screenshots of the 360° with leaning walls.
With RoomTour
The photos come from the same visit. The virtual camera is held level, the way a photographer would hold it, so the walls stay upright.
How they're made, in three steps.
-
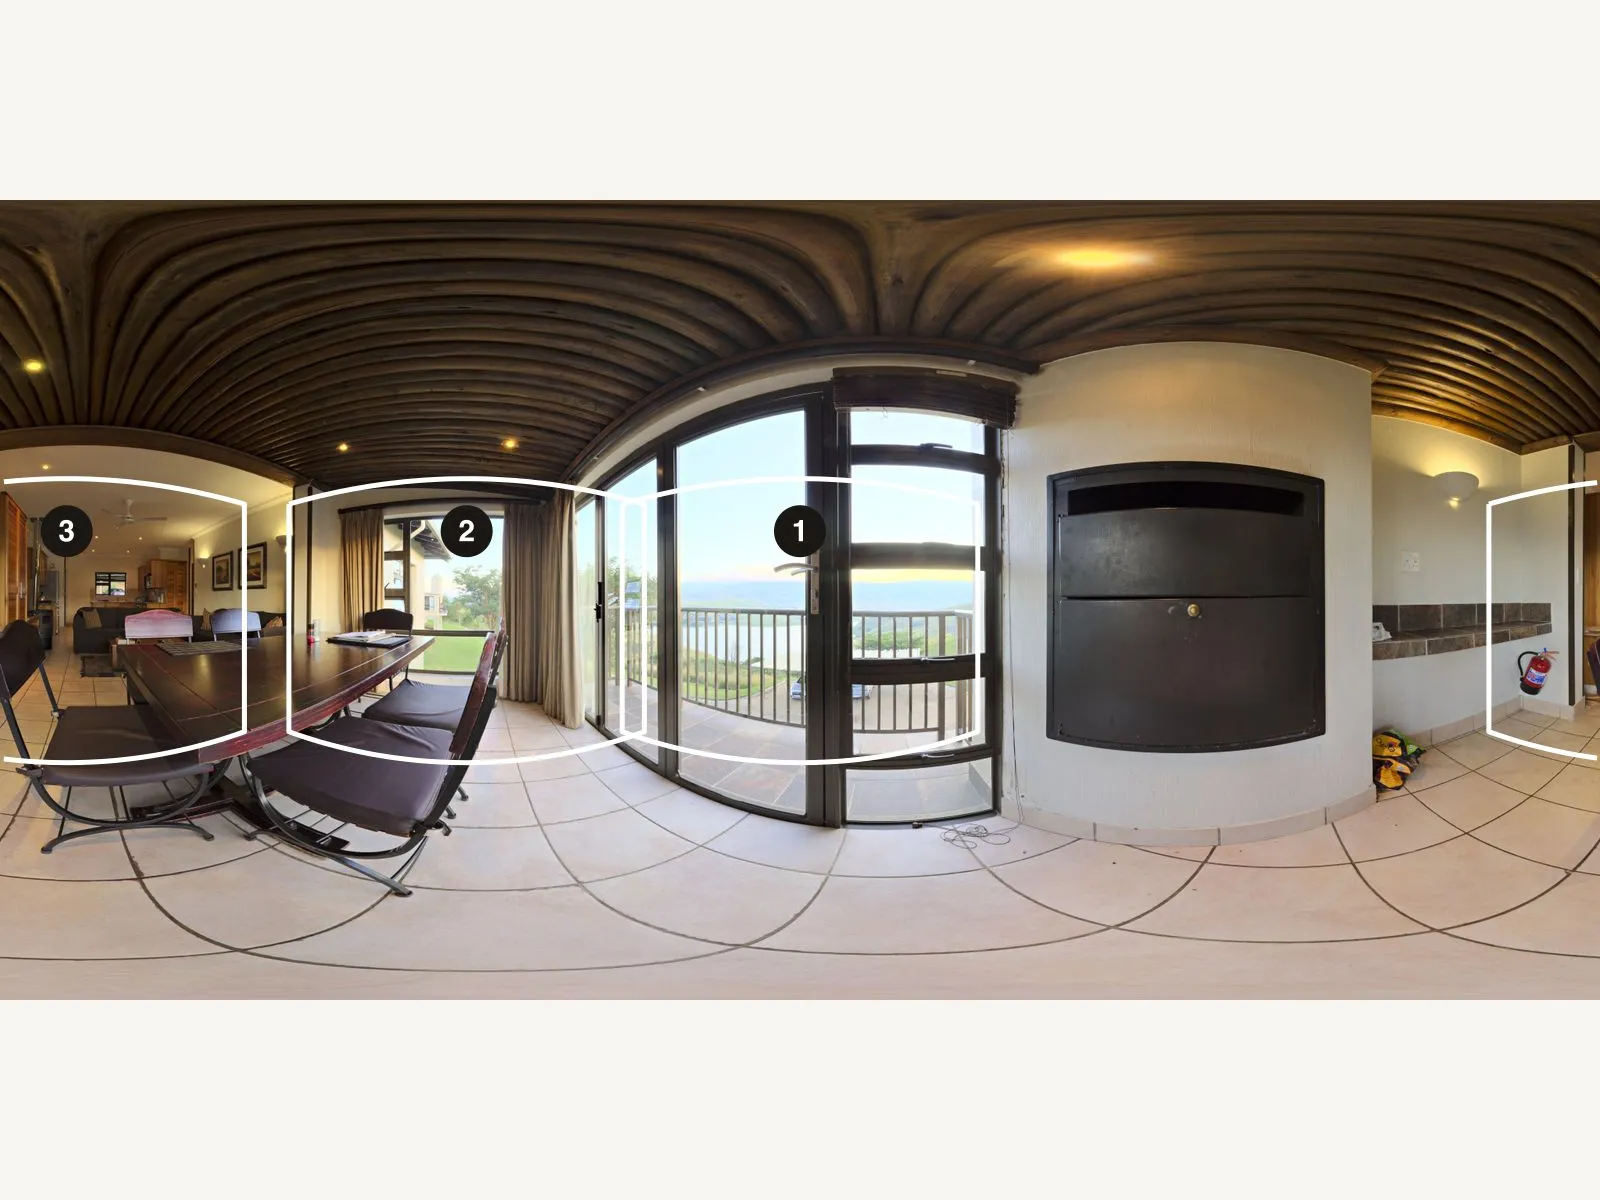
The dining room in 360°, and the three frames picked from it. 1 · Where to look
In each room, the first photo faces the way the tour opens. The other two point at the most detailed parts of the room, at least 70° apart so they don't repeat. A view across the room beats a blank wall.
-
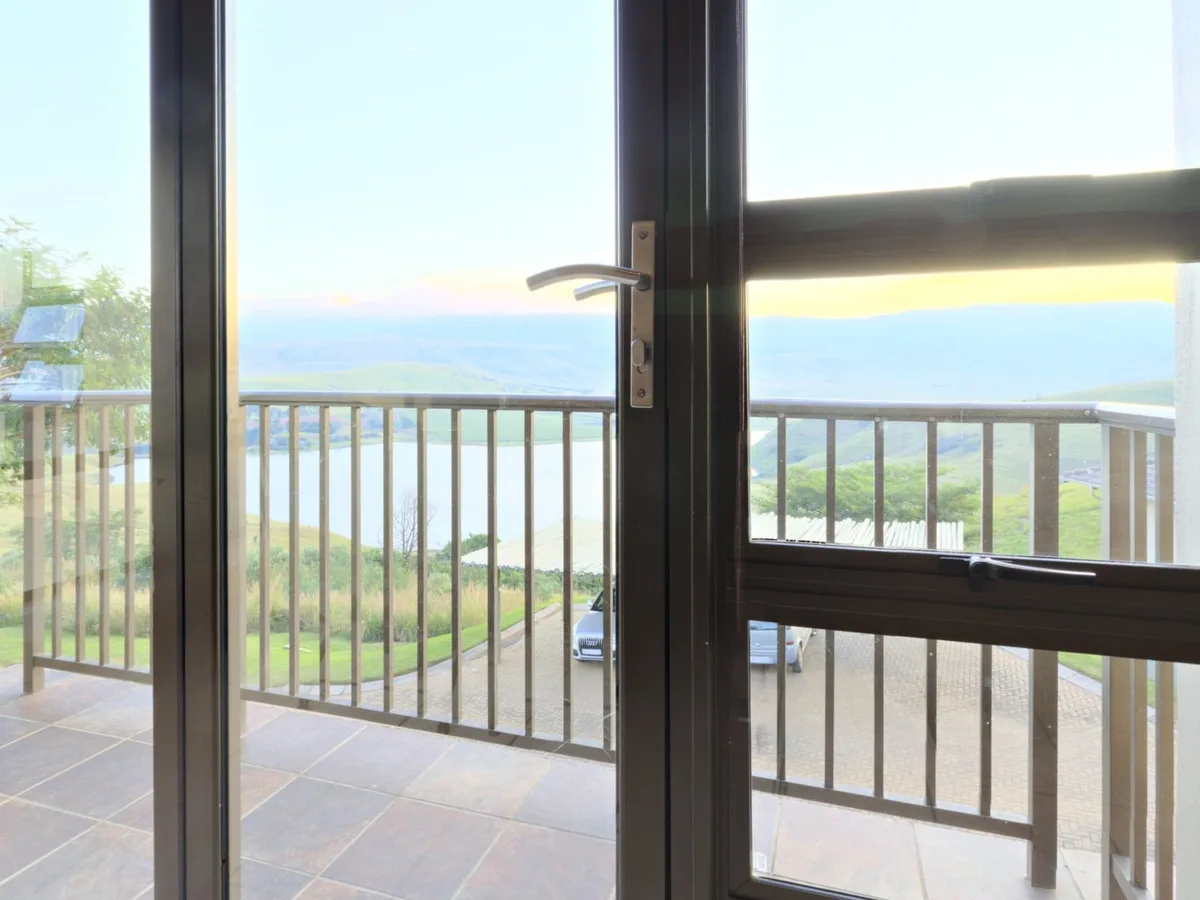
2 · The framing
The camera stays level, with an 80° wide angle (about a 20 mm lens). The frame shifts down a little, like a shift lens, so you get more floor than ceiling and the walls don't lean.
-
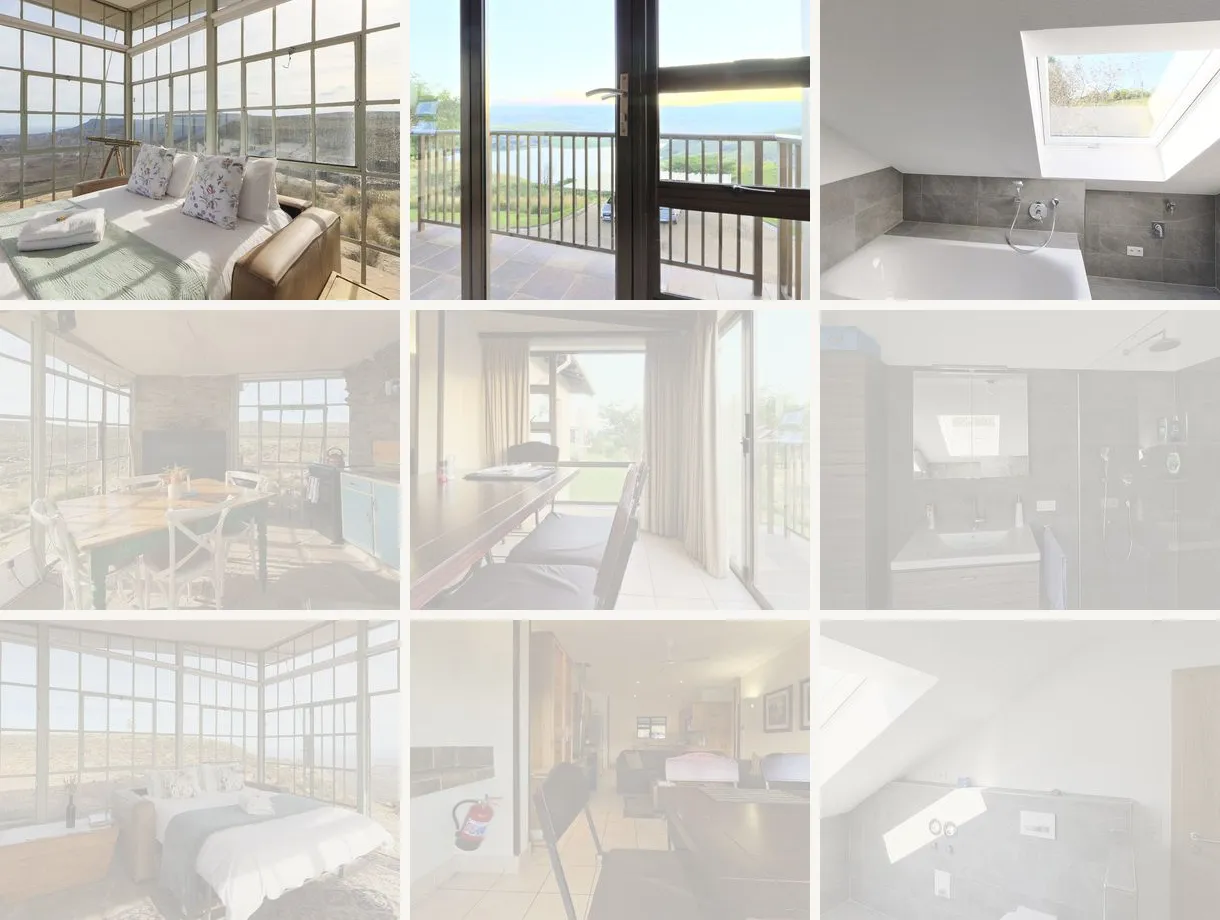
Free plan: the first 3. Pro: all of them. 3 · The download
Each photo is a 1600 × 1200 px JPG. Open the tour in the web dashboard and save the ones you want. The free plan gives you the first 3, which are the main view of three rooms when the tour has three or more.
What you get
Made when you publish
Every time you publish or republish a tour, the photos are made without you doing anything. It takes about 30 seconds.
3 per room
The view the room opens on, plus the two most detailed directions. On Pro, a five-room flat gives you 15 photos.
Upright walls
A level camera and a frame shifted down, the way interior photographers shoot. Vertical lines stay vertical.
What was really there
They're crops of your own 360° photos. No furniture is added.
Plain JPGs
Upload them to any property portal, Airbnb or Booking like any other photo.
In the iPhone app Coming soon
A card on the tour page to save them to Photos or share them from your phone.
What you need
- A published tour. Any iPhone that makes the 360° tour will do; you don't need LiDAR.
- Sign in to the web dashboard with the account you use in the app.
- The free plan gives you the first 3 photos and Pro gives you all of them. While the launch offer lasts, every account has Pro. See pricing for the details.
Questions about listing photos
Are these real photos or renders?
They're crops of the 360° photos you took in the home, framed like an ordinary photo. Nothing is added and nothing is generated by AI.
How good is the quality?
They're 1600 × 1200 px JPGs, cut from panoramas 8192 px wide. A DSLR on a tripod will be sharper. What these have going for them is that they come from the visit you already made for the tour.
Can I choose the framing myself?
Not yet. Each room's first photo faces the way the tour opens, and the other two are picked by how much detail each direction has.
If I upgrade to Pro after publishing, do I have to redo the tour?
No. In the web dashboard, the "Create all the photos" button makes the full set again from the published tour.
How many photos do I get?
On Pro, 3 per room, so a five-room flat gives you 15. On the free plan, 3 in total.
Goes with
-
AI listing description Coming soon
AI writes your listing text from the 360° photos and names each room while you capture.
-
360° tour
One link with every room in 360°. It opens on any phone and shows up in WhatsApp with a photo.
-
QR poster
An A4 window poster with a photo of the property and a QR code that opens the tour on a phone.
Your first tour is free and never expires.
Download on the App Store